Automatic Image Optimisation on Jekyll without Plugins
Optimise images on Jekyll using git hooks and clever scripts, not plugins. AKA: Continuing the pursuit of 100/100 in Google PageSpeed Insights.
Background
For years, Google has been using site speed as part of their page ranking.
Google PageSpeed Insights is a tool that lets you see what Google thinks about your site. I’m not clear if the PageSpeed Insights score translates directly to your score on the actual search ranking algorithm, but it gives you good places to start to potentially improve your search rank.
I’ve written about PageSpeed Insights before, back when I first made this site in 2016. I left off at 98/100. Sadly, things have changed.
 The initial re-analysis of my site
In 2016, I found that I was unable to reach 100 because of the limitations of delegating the hosting to GitHub Pages, which naturally takes away a lot of control. I wasn’t able to use browser caching to prevent download of my asset files, nor was I able to use HTTPS (As I am using my custom domain).
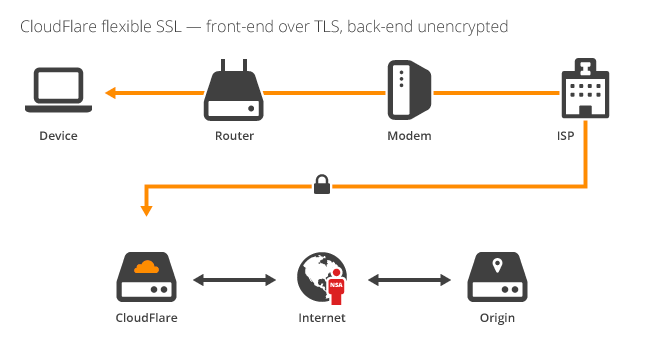
Since I posted that entry, I found that I could use CloudFlare to give myself a rudimentary form of HTTPS, which protects between the device and the CloudFlare Servers. There are pretty good guides about using CloudFlare for SSL on a custom domain on GitHub Pages, so I won’t go into it here.
This form of SSL doesn’t prevent someone reading the data the server is sending to CloudFlare, but given that I serve the same thing to everyone and don’t handle data like passwords, that’s okay. And it’s better than not having it! As Google uses HTTPS as another measure of ranking, this was important to me.
Using CloudFlare came with extra bonuses - I could set up browser caching. I reached 100/100! And I was happy. (Though later I started using Google Analytics and went down to 99/100 again.)
New Requirements
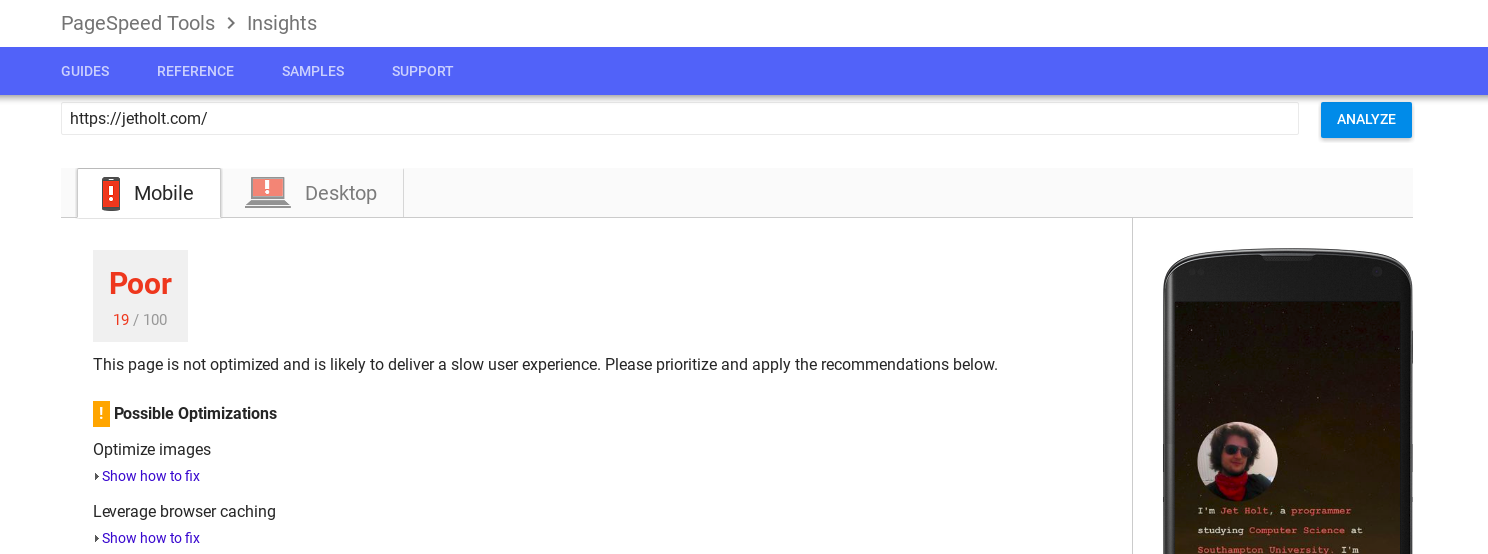
Clearly, things have changed given that I now have an awful score of 5/100. It seems to me that Google changed their scoring sometime between March 5th 2017 and May 18th 2017.
Google now want you to compress JPEG images to 85%, and use browser caching of at least one week.
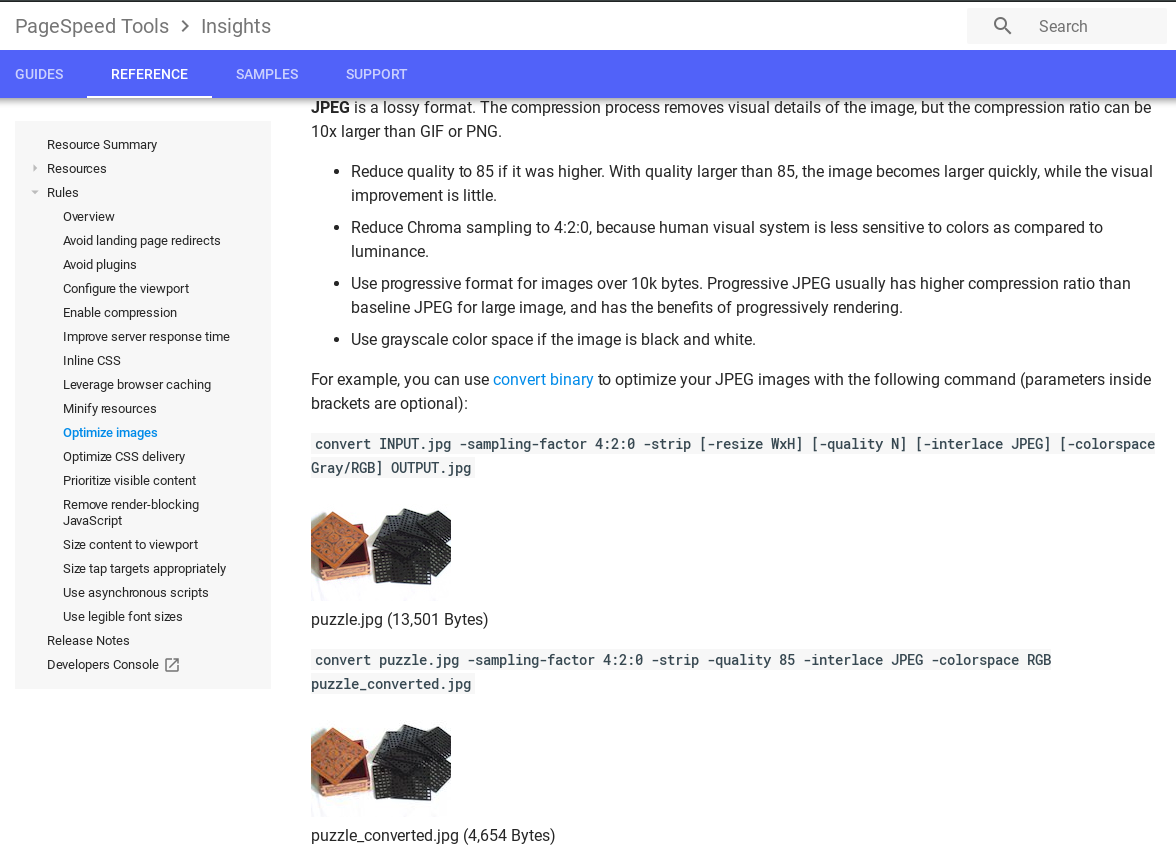 Google’s requirements for JPEG compression
Leverage Browser Caching
I started by changing the cache setting. It’s a really easy thing to change thanks to CloudFlare. (This article is not sponsored by CloudFlare, I promise!) I’d previously set my caching to 4 hours. This time I bumped it up to 2 months.
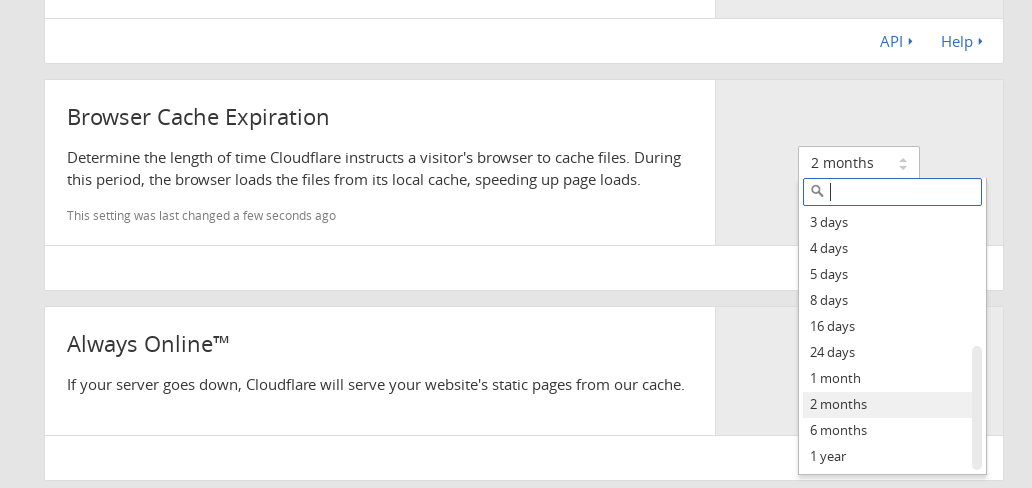 Changing the Cache Expiration on CloudFlare
For those that don’t know, caching means that the browser doesn’t have to download the assets, instead using a stored local copy. (Assets can be images, CSS stylesheets, and JavaScript scripts) Increasing the caching time means that the browser can go for longer before it has to re-download the assets.
Strangely, after bumping my caching time up, PageSpeed insights inexplicably dropped my rating! I think this might just be a bug or something, as I know I did the right thing. (Ignore the fact that there is still an entry for browser caching, that’s Google Analytics as I mentioned earlier.)
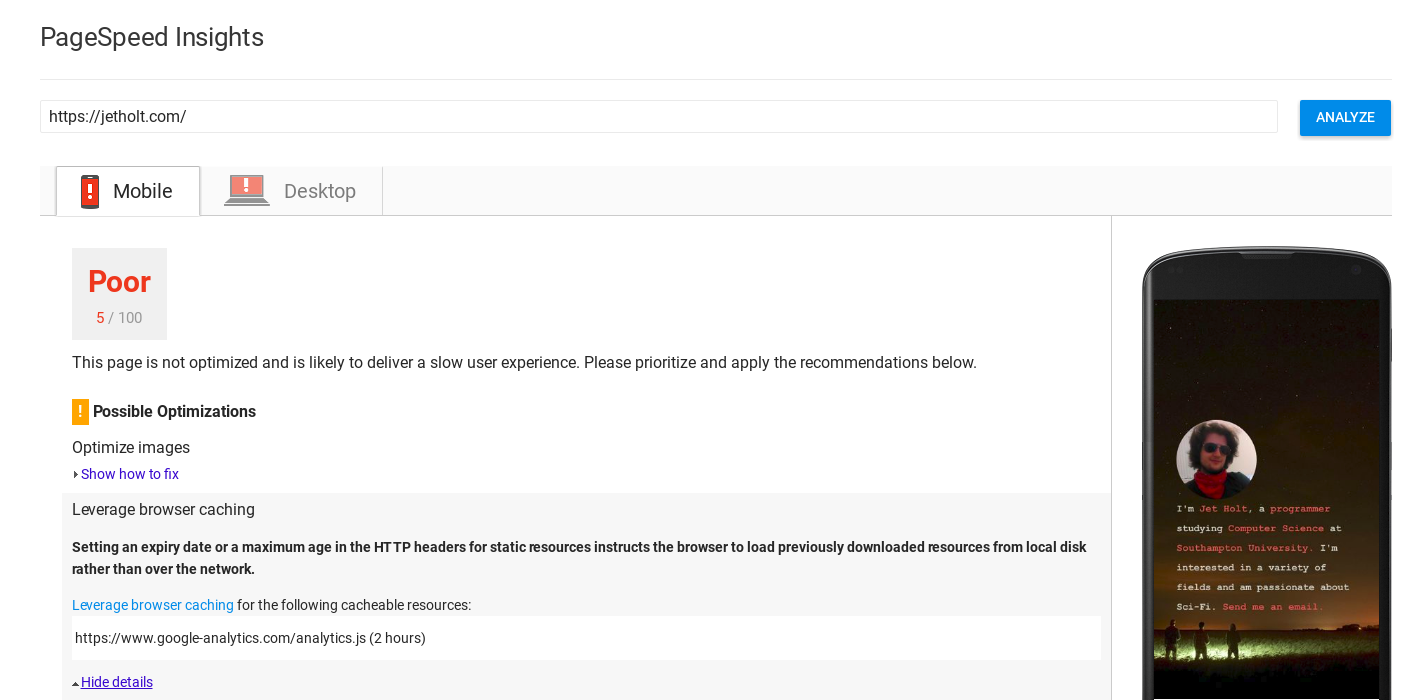 PageSpeed Analysis after extending browser caching duration
Now, I believe we had some images to compress…
Optimise Images
When I wrote my Rake task, I was concerned about lossy compression because I knew that repeated compression leads to some pretty horrific data rot over time. My script wouldn’t be tracking which images were already optimised, so re-compressions would surely occur and eventually I’d be left with a mess. I was left with a choice, adapt the Rake task to track already-compressed files, adapt some other script I had made previously, or make something new entirely.
Something I’ve been working on recently is a website for my sister. (Despite my intentions when I wrote my Towards What post, I didn’t manage to complete it by the October 8th Deadline. This isn’t a failure, I’ve still been very productive, just not on this project.)
As part of this website for my sister, I want to include an image gallery. The Jekyll backend for this will be quite similar to the one described by CloudCannon here.
This design requires the gallery to maintain a list of the images. I didn’t want my sister to have to maintain this list herself - I want her to be able to put in minimal effort to maintain her site.
I decided to write a script in Python that would be executed by a Git Hook that executes just before the commit is processed. This script would process the image files in the gallery folders that are in the commit, add them to the gallery’s image list, and then, as a nice bonus, run some optimisations on the images.
I realised that I could adapt the script I was writing for my sister to optimise my images. This would prevent me from having to remember to run rake compress every time I wanted to push images, it would speed up the compression process (optipng is very slow, and my Rake script ran it on every file), and would allow me to 85% compress my JPEG images without ruining them.
You can find the adapted version that I’m using for my site here. I’m not certain that it will work on Windows or MacOs. Replace the calls to convert and optipng with an equivalent if it doesn’t. Create the file .git/hooks/pre-commit and add the following content for it to automatically compress images when you commit:
#!/bin/sh
python optimimage.py
The version written for my Sister is much the same, and in the interest of completeness, you can find that here.
After running my script, my PageSpeed went right back up!
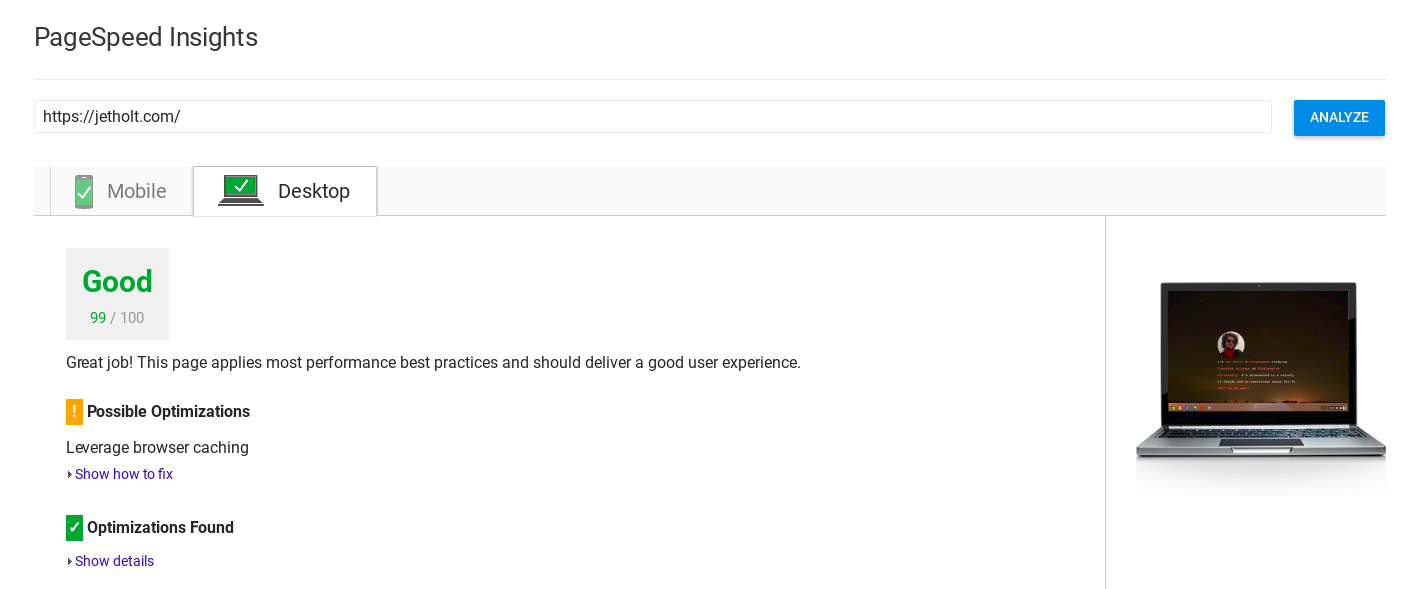 PageSpeed Analysis after optimising images
I later altered this process to also generate responsive images and lazily load them too!
P.S. I'm late to the party, but I recently got a twitter account that you can follow here.